

RustyJL
-
Content Count
59 -
Joined
-
Last visited
Posts posted by RustyJL
-
-
I would like to see a review of the Bosch Flexidome in an outdoor setting. Interested in face capture/recognition out to 10m under minimal lighting conditions.
-
I do license plate capture at 15m with a ordinary Hikvision 2032 mini bullet and it's built in LEDs, 1/200 max exposure and 12mm lens and front license plates to boot.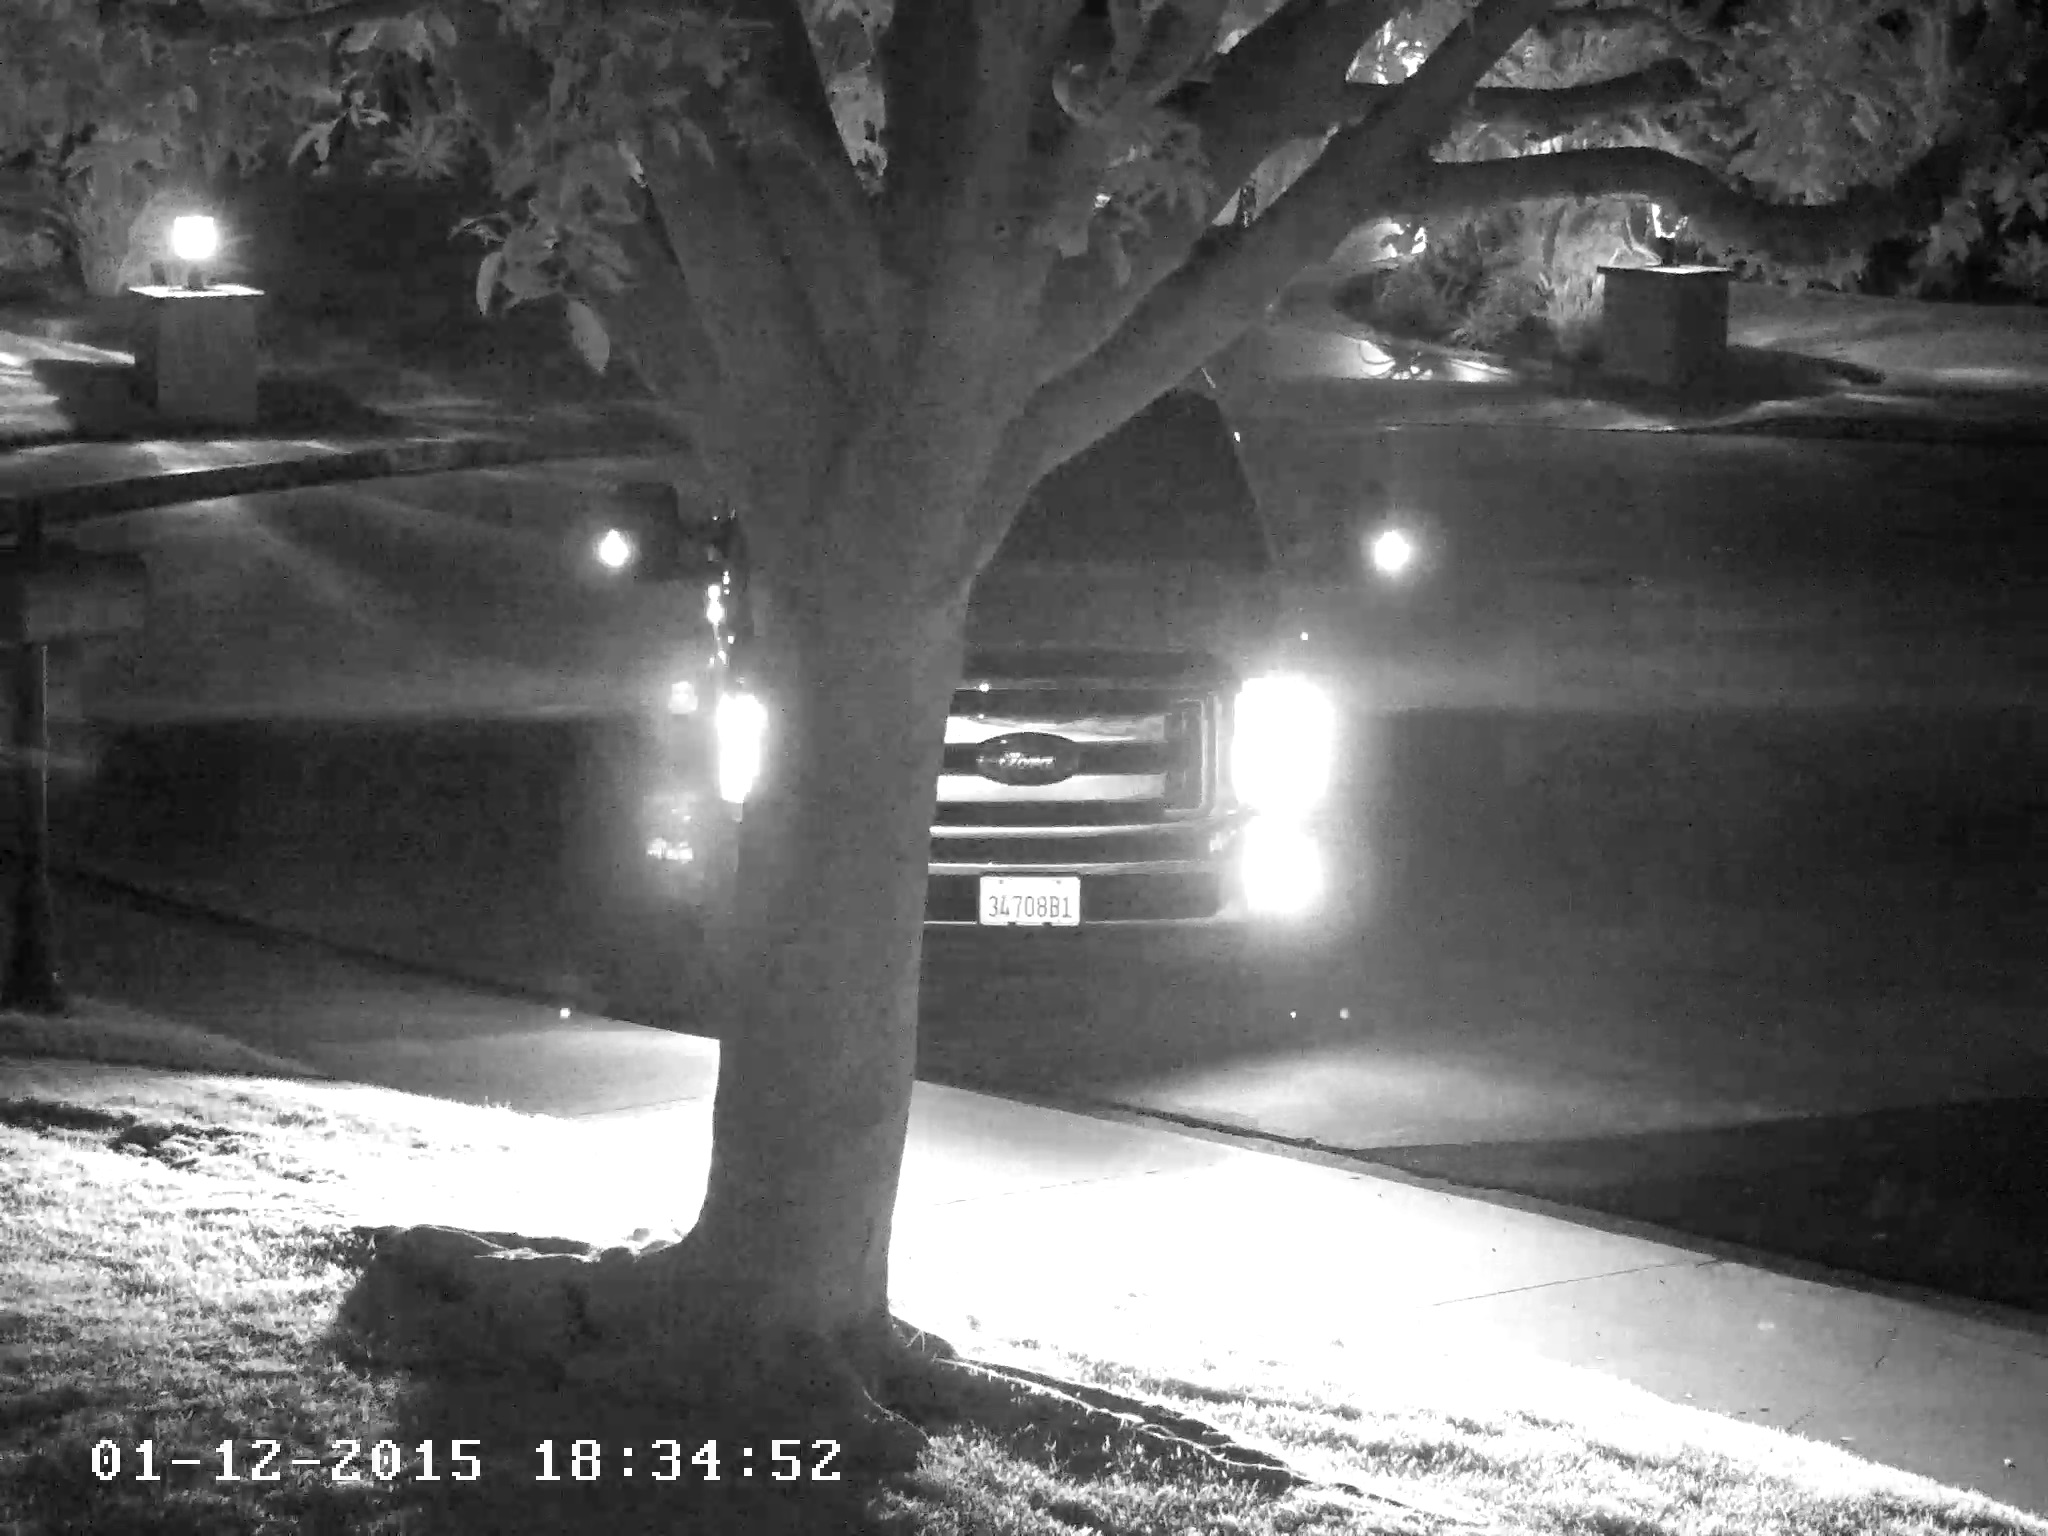
How does that go at any speed above stationary?
I have been looking at Youtube video of a Hik 2232 attempting plate capture at night and it fails miserably.
Perhaps it would be better with IR illumination and with different settings?
-
Good Day.I am looking to install a Hikvision DS-2CD2032 3MP IR on a 12V battery and solar panel set up (using DC power not POE). Taking 12 snapshots per day on a 1 hour period. No IR and night time mode disabled.
I am wondering about amperage power draw (amount of milliamps and duration)...
On bootup.
IDLE.
While taking snapshot and
etc
or any other information that might be useful to me.
I cannot find anything on this camera besides that its 5W max.
Thanks in Advance.
Dave
Where are you storing the footage, I assume you have factored that in too? A wireless router or computer will use extra power?
-
That one won't do the job either, as it splits out 48Vdc from an 803.2af connection.Here's what your basic choices are:
- Cheap passive injector and splitter, best bought as pairs so you're guaranteed the wiring matches up. You put in a voltage at the injector (usually 12Vdc), pull it out at the splitter, and plug it into the DC jack on the cam (after making sure it has one). Here's an example:
http://www.amazon.com/HCP05-Passive-Injector-Splitter-Connector/dp/B00DZLSRJC
- Cheap passive injector that puts 48Vdc into the cable so the cam thinks it's getting standard 803.2af power. How cams respond to a unit that doesn't handshake depends on the cam's firmware, so you don't know unless someone's tried it. The unit you linked to implies that it works for this, but you just never know with Chinese gear. It might work with less than 48Vdc, but I've never tried it on a Hik.
- Better passive injector that will power 8 cams if they don't exceed the PS rating. This is a better bet than all the above if budget is critical:
http://www.amazon.com/WS-POE-8-48v60w-passive-Ethernet-Injector-cameras/dp/B0086SQDMM
You can also get a good quality single cam 803.2af injector, but by the time you've bought 2, you might as well have gotten a switch:
http://www.amazon.com/TP-LINK-TL-PoE150S-Gigabit-Injector-compliant/dp/B001PS9E5I/ref=pd_cp_pc_1
- POE switch - the safest and most reliable route, and only a little more expensive. As MindTwist says, this is the best way to go, especially if you're not familiar with POE variations and willing to experiment. Here's a good bet for a 4 port version:
Ok thanks mate. Found the TPlink sf1008p locally for $59, so have ordered one.
-
Ok, so I will need to get a splitter as well, like:
If, down the track, I go for a POE switch, what would you recommend? There will probably only be -4-6 cameras to service.
Thanks for your advice so far " title="Applause" />
-
iVMS4200 PCNVR will work, but not the most intuitive. BlueIris is a great product for the money, but you may need a larger processor than if you use iVMS4200. Milestone XProtect is more industrial strength and I like it and was worth the added expense to me.Cool, thanks for that. I'm running an I7 laptop with 4GB RAM and 150GB of free disk space. Will look at BlueIris given the price.
-
Also, what do you recommend for a VMS?
Blue Iris sounds good, as does Milestone XProtect. Or is IVMS 4200 just as good?
-
Also bought a lot of 5 POE injectors from the same place for $7.99USD
If these are passive POE injectors/splitters, you'll need a power supply for them as well. Do you have a link to them?
That looks like a standard plug to me? Should be able to go to any electronics store and get one to suit it.
http://www.aliexpress.com/snapshot/6463445734.html?orderId=65556555072221
Item specifics
Brand Name:XINRAYModel Number:POE001
Product Description
5PCS/LOT RJ45 Connector 12V 1A POE Injector Power over Switch Ethernet Adapter POE001 For POE Camera Hikvision IP Camera Adapter
Mini Style Passive POE Injector w/ LED Indicator New Hot Sale
POE:pin(45 78) for power + pin(1236) for data;
LAN:pin(1236)
DC: 5-52V power
Green power indicator
Standard:IEEE802.3af(at)POE standard power over Ethernet
-
Enjoy!I suppose you had a reason why you bought 5 X POE instead of a switch with multiple POE ports.
Yep... It was $8USD
I will run it through our current router, if I decide that a multiple POE switch is needed that can be purchased down the track. What POE switch is recommended by the guru's?
Don - I don't know if it is a discontinued model, perhaps that's why it was so cheap?
-
From this company, with a 6mm lens. Testing it out to see if I will install a few more on our new house.
Also bought a lot of 5 POE injectors from the same place for $7.99USD
Would have loved to have the money to splash out on a Bosch Dinion 8000 that BW reviewed recently, might have to save my pennies for that one!
Hopefully will put up some pictures shortly, along with my impressions.
-
The lowest light cameras are box cameras, but that's OK, it will be indoors anyway, also 720P is the sweet spot for low light cameras. Check out the Bosch NBM-733V-IP, maybe one of the lowest light surveillance cameras out there. The Axis Q1604 also does very well at night, almost as good as the Bosch. Samsung has their Wisenet III camera, the SNB-5004, the same league but may be the best bang for the buck.The Bosch 733 appears to have been discontinued, previously priced around the $800-$900 mark? The Dinion 80052 BA is 5MP and priced around $1100-$1300 online, excluding cost of a CS mount lens. When you buy one, make sure you post a review up here
-
I can't find any footage taken using one of these camera's anywhere on the internet. Is it too new or have I not searched thoroughly enough? They appear to be very good camera's, coupled with the appropriate lens. Checking the Australian website, it seems they are not available over here.
As is the case with other IP cameras, can you hook the Bosch ones up to a router and view the footage using something like Milestone?
-
Wow, those camera's do look fancy. Plus there is only 9 months to wait until they are released
-
Just saw that these camera's are out. They look to be a bit better spec than the KCM 5611 albeit with only 12x zoom.
How do the two compare?
Buellwinkle - Any plans on doing a review of this model?
-
How much are the new Bosch Dinion 8000 starlight cameras worth. The low light footage is rather impressive.
Looking at footage on Youtube from the Bosch 733, the low light capability is not bad
although i did see another video where the low light footage was terrible.
It is sad to see such poor results from the KCM5611, I was set on getting one acquired for work purposes. Perhaps the Bosch may be a better option for LPR and general mobile surveillance.
-
&feature=player_embeddedWould be handy for surveillance jobs I think.
-
I've been dabbling in a Point-to-Point connection via a couple of Ubiquiti NanoStationM5 Locos (http://dl.ubnt.com/datasheets/nanostationm/nsm_ds_web.pdf) for one of the surfcams I have looking over a New Jersey bay.ExtremeSurfcam.DynDNS.org:8080.
It's starting to dawn on my that, with the right combination of solar panel, NanoStation, and IP camera on a mast I could locate a camera somewhere advantageous but where there is no building.
Has anybody done this on a budget? I'm sure it's possible with a couple thousand dollars... but how about a few hundred?
I'm also interested in doing something like this, except using as a game camera.
A couple of thousand??? Why such a large budget? Batteries x 2 ($300), solar panel (120w $300), inverter for the Ubiquiti ($100), camera ($350) (wired direct to the 12v battery) and the M5 themselves ($300).
$1350 all up - sounds about right.
-
Excellent information gents. Thank you for your assistance.
Logging in live is not a must have for this idea, just be nice. I may well be satisfied with the system sending me email photos/video of the action and going from there.
-
What a surprise, our major Telco does not offer static IP addresses to mobile broadband customers...
http://forums.whirlpool.net.au/archive/1863462
So you are saying that this is only required if you want to login to your camera to view it in real time?
It seems that their competition Optus do it, however it has to be on a business plan which I suspect means big money.
Sounds easier to go with the added burden of sourcing extra power and cost of putting a Nanostation M2
in
http://www.ubiquitishop.com.au/78_7_nanostation_m2_2_4ghz_w_aupwr.product
With getting this solution to work however, it appears that a line of sight is required between the two radio's. Is it possible to get an omnidirectional antennae to get around this problem?
-
On a recent review on the Hikvision 3MP with 12mm lens, I was able to read a plate about 80' away in bright daylight.At night, never going to happen, a good box camera with low light sensitivity with a good 50mm lens combined with an awesome IR illuminator would be what you need.
The Acti 5611 would be such a camera?
-
We live streamed our city parade at 1080P using a 4G connection, no problems. Wasn't that much bandwidth, maybe 1GB/hr.We also use a Cradlepoint with a VZW USB stick and without paying the $500 ransom from VZW, we can't access the cameras remotely but for us it's more for access control updates.
Thanks for the feedbank gents.
In this application, it would be set to record on detecting motion in a cleared area (cultivation paddocks) so that shadows/grass blowing in the wind did not set it off. The ability to view the footage live would only be used in short bursts to confirm that the fox/dog/pig is still there so we would know it's worth getting into the ute and driving down to shoot the vermin.
Also what is the story with this $500 ransom that your carrier over there demands? What does it get you? As I understand Buellwinkle's reply, he can stream the video at 1080p which is all I want - actually much lower resolution would be fine too in this particular situation. I am sure that we would have a similar ransom being demanded over here with our major carriers Telstra/Optus etc.
Would also come in handy for remote surveillance of other sites, but that's a topic for another day.
-
Yeah, I don't know that he was talking about using a high end IP camera!
Getting something like an Acti E32 hooked up to a cradlepoint router and 3G card should make for a decent game camera at a reasonable price with benefits not on offer from regular cams.
-
Is it sound advice?
http://www.ehow.com/how_5772777_build-camera-live-video-stream.html
Instructions
1
Trail Camera with Video
First things first. I will briefly describe everything you will need to put this system together. Believe me, It is MUCH cheaper than buying the systems going right now that simply email you still pictures.
First you will need an IP BASED web camera. You can find many different types of these by just searching Google for "Ip WEBCAM". Radio Shack also carries a few good choices. There are a few weatherproof ones on the market but it is not neccessary because you can always put a cover on it. But we will get to that later. IP BASED webcams basically have their own servers set up directly in the camera. Pretty much all they need is an internet connection and they automatically allow access for control of the camera by loggin into the IP address. These can be purchased starting for about $80 dollars to $1500 plus. The point here is to be cost effective and the $80 dollar models you will find work just fine. Just make sure it is an IP BASED WEBCAM. A regular webcam will not work.
2
Craddlepoint Router for Trail Camera System
The next item you will need for your trail camera with live streaming video capabilities is a cellular router. By far the best around is Cradlepoint Brand Routers. These routers are made to accept your USB wireless internet cards. I personally use the USB720 from Verizon wireless. However almost any cellular carrier does offer some sort of wireless internet device. Sprint, ATT, Cricket, TMobile etc. Just ask your service provider and they will point you in the right direction. A USB device is best. This service usually cost anywhere from $29 bucks a month to $59 bucks a month. This is the ONLY fee you will aquire for this set up. If your like myself, you may already have wireless internet service and a USB device. Now, the Cradlepoint Wireless Router enables you to plug your cellular USB internet device right into it. It automatically recognizes your wireless internet device and forms a connection to the internet. Now whenever you plug your IP BASED WEBCAM into the Craddlepoint router, you have an internet connection via the wirless device. The IP BASED WEBCAM now assigns an IP ADDRESS and is ready to stream its video to the web. Be sure you have a signal where you intend to put your system.
3
Weather Proof Box for trail camera video system.
Next you will need a weatherproof box for your system. I use a box like shown in the picture that is much like your outside cable box on your home. They can be picked up at any hardware store for a few dollars. You will want to mount the cradlepoint router inside the box. I mount this right in the center so it leaves room inside the box to tuck away the wireless card and any cords and a power invertor. I like to use these boxes because you can easily spray paint them with your favorite camo pattern and once they are mounted to a tree there is easy access if needed. You will want to drill a hole in the box large enough to run the cord for the camera outside of. I then mount the camera on top of the box so that whenever I mount the box the camera has a clear view of the feeder or location you are trying to view. Be sure and use weatherproof calking for any holes you drill and you will want to put a "roof" over the camera after you mount it to a tree. I cut a small piece of sheet matal and just mount it over top of the camera on the tree to help keep it out of the rain.
4
Power Invertor for your wireless video streaming trail camera
I will sum up the next three things you will need to complete your wireless trail camera streaming video system. You will need a small power invertor that can fit inside your weatherproof box with the Cradlepoint router. This invertor needs to be able to convert power from a marine grade battery to power for the Cradlepoint Device. The Cradlepoint will supply power via the usb connection to your wireless card and some IP WEBCAMS. Some IP WEBCAMS will need to also be plugged into the power source.
5
Next thing you will need is an electrical timer. These serve a very inportant purpose in this system. They can be purchased at any hardware store for a few bucks. The timers are very important here. Being the Cradlepoint Router has a feature on it to automatically detect and configure an internet connection when powered on. Consider this timer a safety feature to ensure your camera is always ready to be used via the internet. If your like myself, you may live several hours away from your hunting property. If you ever lose your wireless connection for any reason. This timer will "reboot" the system which will automatically reset your Cradlepoint Routers connection and put it through the tasks of automatically re-establishing a connection. I like to set my timer to "re-boot" the system ever 6 hours. Honestly, I have had absolutley no problems with keeping a connection, however, it's one of those things thats " better safe than sorry" to me. The first time the system would actually need to be re-booted for some reason and you are 5 hours away, you would probably wish you had the timer on it.
6
Marine grade battery for power to your Trail Camera system
Lastly a marine grade battery will keep power to your system. I have solar panels running to my battery and it runs indefinitley. A friend of mine just has two batteries. Keeps one at home on charge and just switches them out weekly. Just hook your battery into the power invertor and then run the power from the invertor to the other devices.
7
OK, In review. You have a Cradlepoint Wireless Router in a weatherproof box. You have your wireless internet card connected to your Cradlepoint Router via USB connection. You have a IP BASED WEBCAM also plugged into the Cradlepoint Router via USB connection. You have a power invertor providing power to these devices via a marine grade battery. You have the enitre system mounted to a tree and powered up. Now then, you will go through the camera setup which will have detailed instructions with the booklet that came with it. It will provide you the IP ADDRESS to use to log into your system. Once you enter the IP ADDRESS into your web browser you can log in and take control of your camera. I have found that you can call the help line to your camera maker and they will gladly walk you step by step through the simple setup. However certain cameras are pretty much plug -n- play. All you will need to know is the IP Address to enter into your browser.
8
These systems are amazing. You can zoom in....zoom out. Look left and right. They can be set up to notify you by text message or email whenever motion is detected at the feeder. You can record video and sound and download it to your computer. You can sit and watch your feeders while drinking coffee in your own home or at any other computer you have access to. The best thing about it is, you pay no fee besides your cellular internet service. If you are familiar with trail cameras then you already know with other store bought systems you will pay for monthly fees to upload pictures in which they charge you per picture fees that add up to cost hundreds of dollars a month to be able to look at still photos. Not only that but you can expect to pay in the neighboorhood of $700 - $1200 for the trail camera. I built my first system for less than $300 dollars.
Well, now you know how to not only build a system for cheaper, but also how to have a trail camera with live video streaming and many more capabilities. Hope you enjoy these tips, give it a try you will not be disappointed. Now...Im going to log in and see whats at my feeders.
Read more: http://www.ehow.com/how_5772777_build-camera-live-video-stream.html#ixzz2sVZl4rDt
-
I wonder if there's a way to change the resolution of a PS32 to 640x480... Although I have nothing to complain about the performance.
I would love an LS64, said to be capable of detecting a man at over 1000m
Got my Hik 2232 set up, using Milestone Go
in IP/Megapixel Cameras and Software Solutions
Posted
As per the title, it is up and running. Quite impressed with the quality of footage day and night. For now I have only tested it indoors, need to find my 20m Cat 5 cable to test it out on moving cars to record number plates. Also set up a DDNS server and can view live footage over the mobile phone.
All in all, this is a great camera and the software has heaps of useful features.
One thing I can't work out, how do you set it to dual streaming? I want to view the H.264 over the mobile so I'm not using up heaps of mobile data but then record the best MJPEG image to the computer HDD.
Will post up some video and screen shots later.